For tonight's pattern postcards, I colored the cards with solid blocks of color and then drew on the surface with white pencil.
Tuesday, July 30, 2013
Monday, July 29, 2013
Sunday, July 28, 2013
More postcards
I made a few more pattern postcards tonight to send out. There's still more if you'd like to sign up!
I will not sell or retain your address. This is only a fun project to promote 365 Days of Pattern and to share artwork.
Saturday, July 27, 2013
365 Days of Pattern Postcard Project: First Look
Today I started creating the first postcards for my 365 Days of Pattern Postcard Project. I'm finally using my Copic markers, as well as some smelly markers I bought at the University art co-op years ago. I had fun making the feather pattern below. I started with smelly markers, then made everything fuzzy with a blender marker. The end result was a bit dark, so I came back over the top with a white pencil. I really like the effect. I also made some persimmons. They make for such a great graphic and I love the red orange color. In printmaking class we had an ink with this color and its name was "fire red."
The green shapes are feijoas, a south american fruit I learned about while traveling in New Zealand. The cross-section of this fruit has such a cool shape and I thought it would make a great motif.
If you would like a lovely pattern postcard sent to you, please sign up here. I'm going to do thirty of these and send them all over. I already have a few to send to Thailand!
Thursday, July 25, 2013
365 Days of Pattern Postcard Project
Isn't snail mail fun?
I have an upcoming prompt in my "Make Something 365" book to do a project involving postcards, and I thought it would be fun to send art postcards to my fans. I'll send free, handmade postcards to the first 30 people to sign up via the link below. (Yes, I will send overseas, but I'm going to limit that to no more than 10.)
In exchange I ask for a small favor: please help me promote my blog. So please like my facebook page, or share one of my posts on a social network, and I'll mail you a lovely card.
Click here to sign up for a 365 Days of Pattern postcard!
Wednesday, July 24, 2013
Theory of Tiled Patterns
Over the last few days I've put together a short video demo on the theory behind rectangular repeat tiles. It's my first instructional video, so I'd love to hear your feedback. I plan to do more that touch on more of the mathematical background, but I wanted to keep the first one brief.
Tuesday, July 23, 2013
Monday, July 22, 2013
Tiling on a Video
Tonight I made a short film on making repeats based on my "Tiling on a Torus" post. It needs a bit more editing, but stay tuned! I'll post it later this week.
Sunday, July 21, 2013
Color variations
Saturday, July 20, 2013
Fire vs. Water
Here are two contrasting repeat tiles I made for my Skillshare classs. I drew the images with a stylus, then touched them up in illustrator to make the repeated forms and add values.
Friday, July 19, 2013
Flames tile
Tonight I've been working on a tile repeat with flames. I'm using the same concepts as in my post "Tiling on a Torus." You can see the gridmarks where I'm trying to make the line connections smooth.
Thursday, July 18, 2013
Pollen & Rain
I made a couple of patterns tonight from a drawing. The first one reminds me of pollen, the second, raindrops.
Wednesday, July 17, 2013
Tuesday, July 16, 2013
Monday, July 15, 2013
Contrasts
I'm taking another Skillshare class on pattern design. The first exercise was to work with contrasting ideas. Here's a page from my sketchbook.
This particular class is free, and self-paced. You can join here: Introduction to Surface Design: Creating and Mixing Patterns
Saturday, July 13, 2013
Napkin pattern
Today's prompt was to draw on the napkin at a restaurant and leave the work behind. I drew this abstract pattern at a delicious dinner at Hopdoddy Burger Bar. Hope someone enjoyed it :)
Thursday, July 11, 2013
365 Days of Pattern is on Facebook
I've created a facebook page for my blog in attempts to promote my posts more on facebook. Please take a look and "like" it: https://www.facebook.com/365DaysOfPattern
Featured Artist: Susan Rodriguez of Ceramica Botanica
Today’s guest artist is Susan Rodriguez of Ceramica Botanica, who makes servingware with fun, retro patterns. Susan is from San Antonio, Texas, and she shares her background and techniques today. Be sure to also check out her etsy shop and facebook page.
A: What’s your background?
S: I really came late to art. My first exposure was a basic design course in college. It was amazing, liberating, eye opening, and so fun. I was staying up all night working on projects. Then I continued taking art courses and received a BFA in ceramics.
A: What are your inspirations?
S: I love vintage textiles and architecture.
A: How did you get started designing patterns?
S: I have always been attracted to patterns and had the instinct to include patterns in my work. With pottery there is always the form/ surface dilemma. You develop the skills to create a pleasing piece and then you must find the perfect way to treat the surface. The surface treatment will make or break the piece. It took many years of experimenting for me to get to my current stenciling technique.
A: How does your medium influence your work?
S: Working on a three-dimensional object can be tricky, but it is also a jumping off point. I love seeing how the scale or shape of the image can alter the look of the end piece.
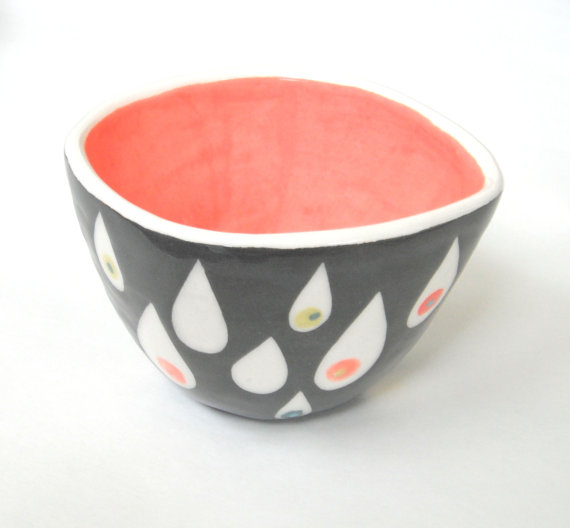
A: Can you please describe your work process?
S: I no longer do sketching, instead I grab paper and my scissor and start cutting. It feels like drawing but with scissors. I make all my pottery by hand building. I roll out slabs of clay and build with the slabs or use slump molds to form the pieces. The surface are made by taking the paper shapes I have cut, arranging and securing them onto the unfired bowl /platter. Next I paint 3-4 layers of underglazes or stains. After letting the underglaze/stain to dry I can peel off the paper stencils to reveal the pattern. The pieces must then be fired in a kiln two times at 2000 degrees.
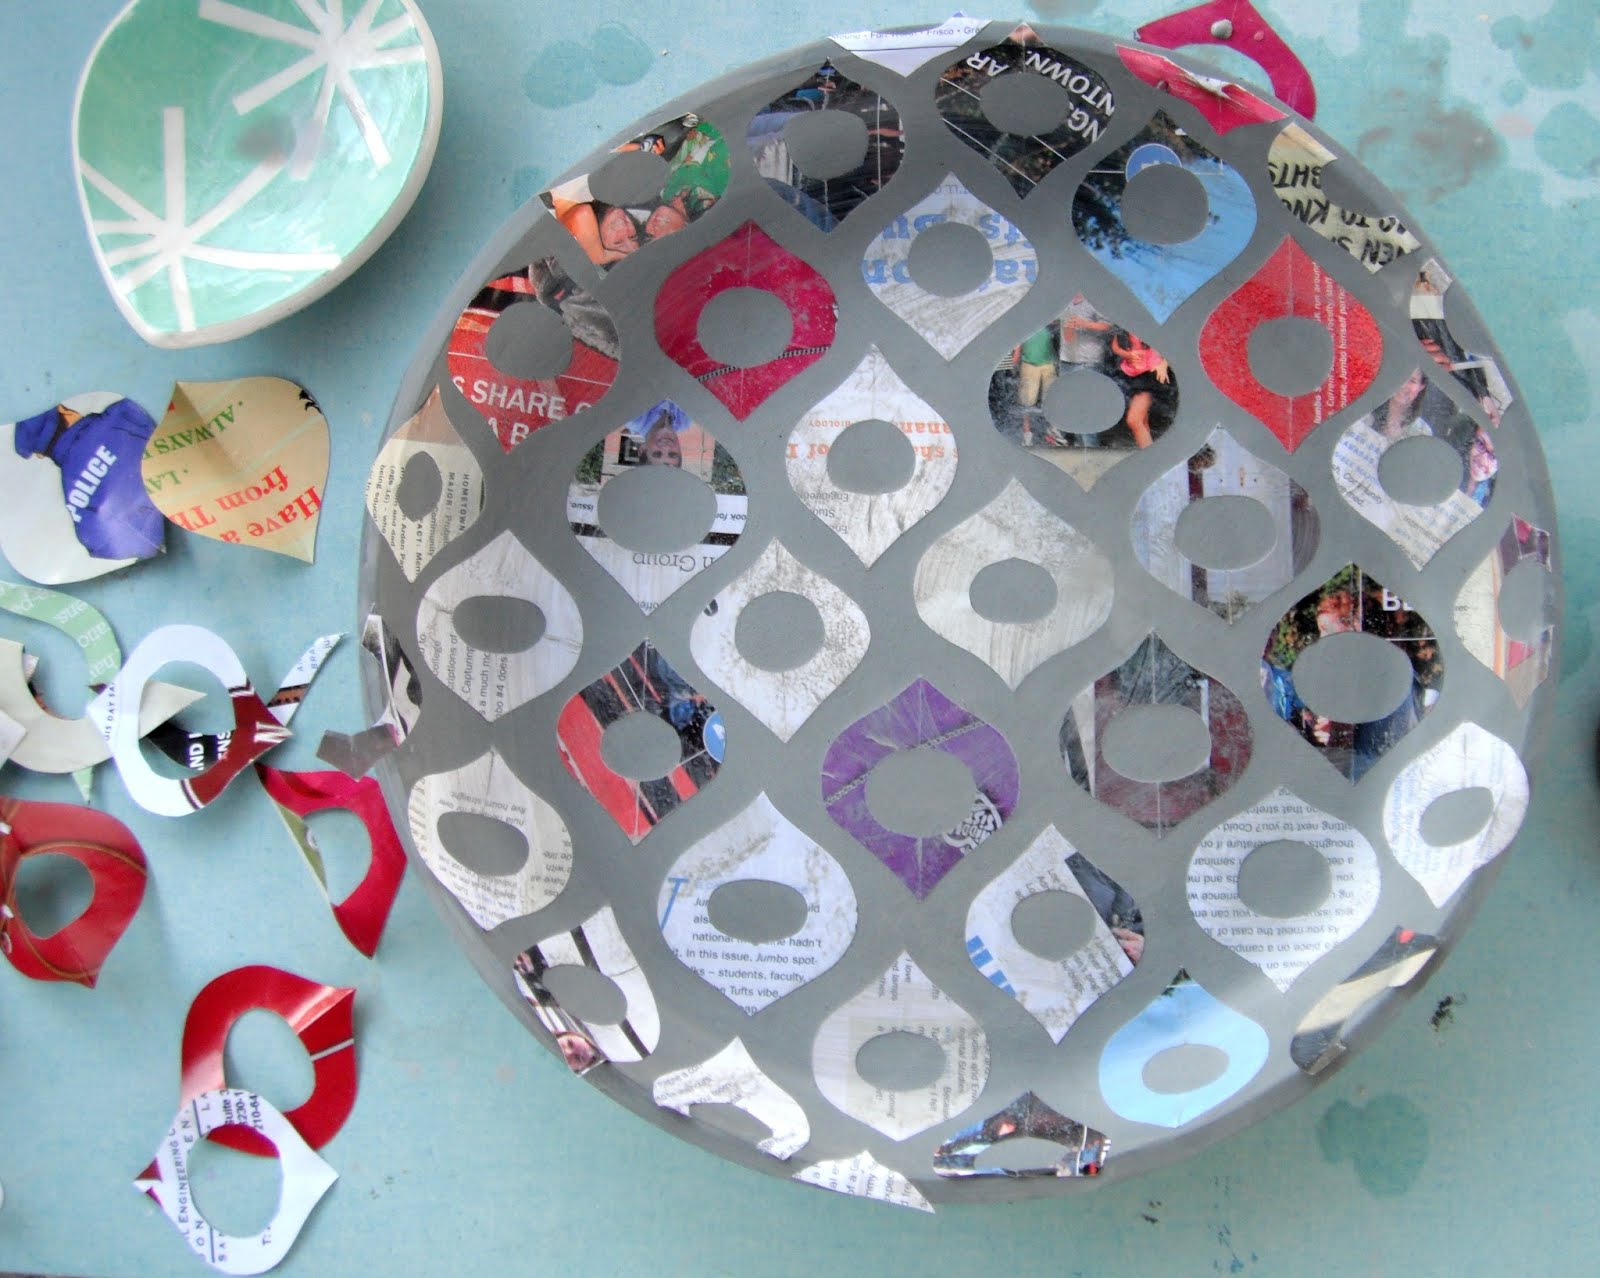
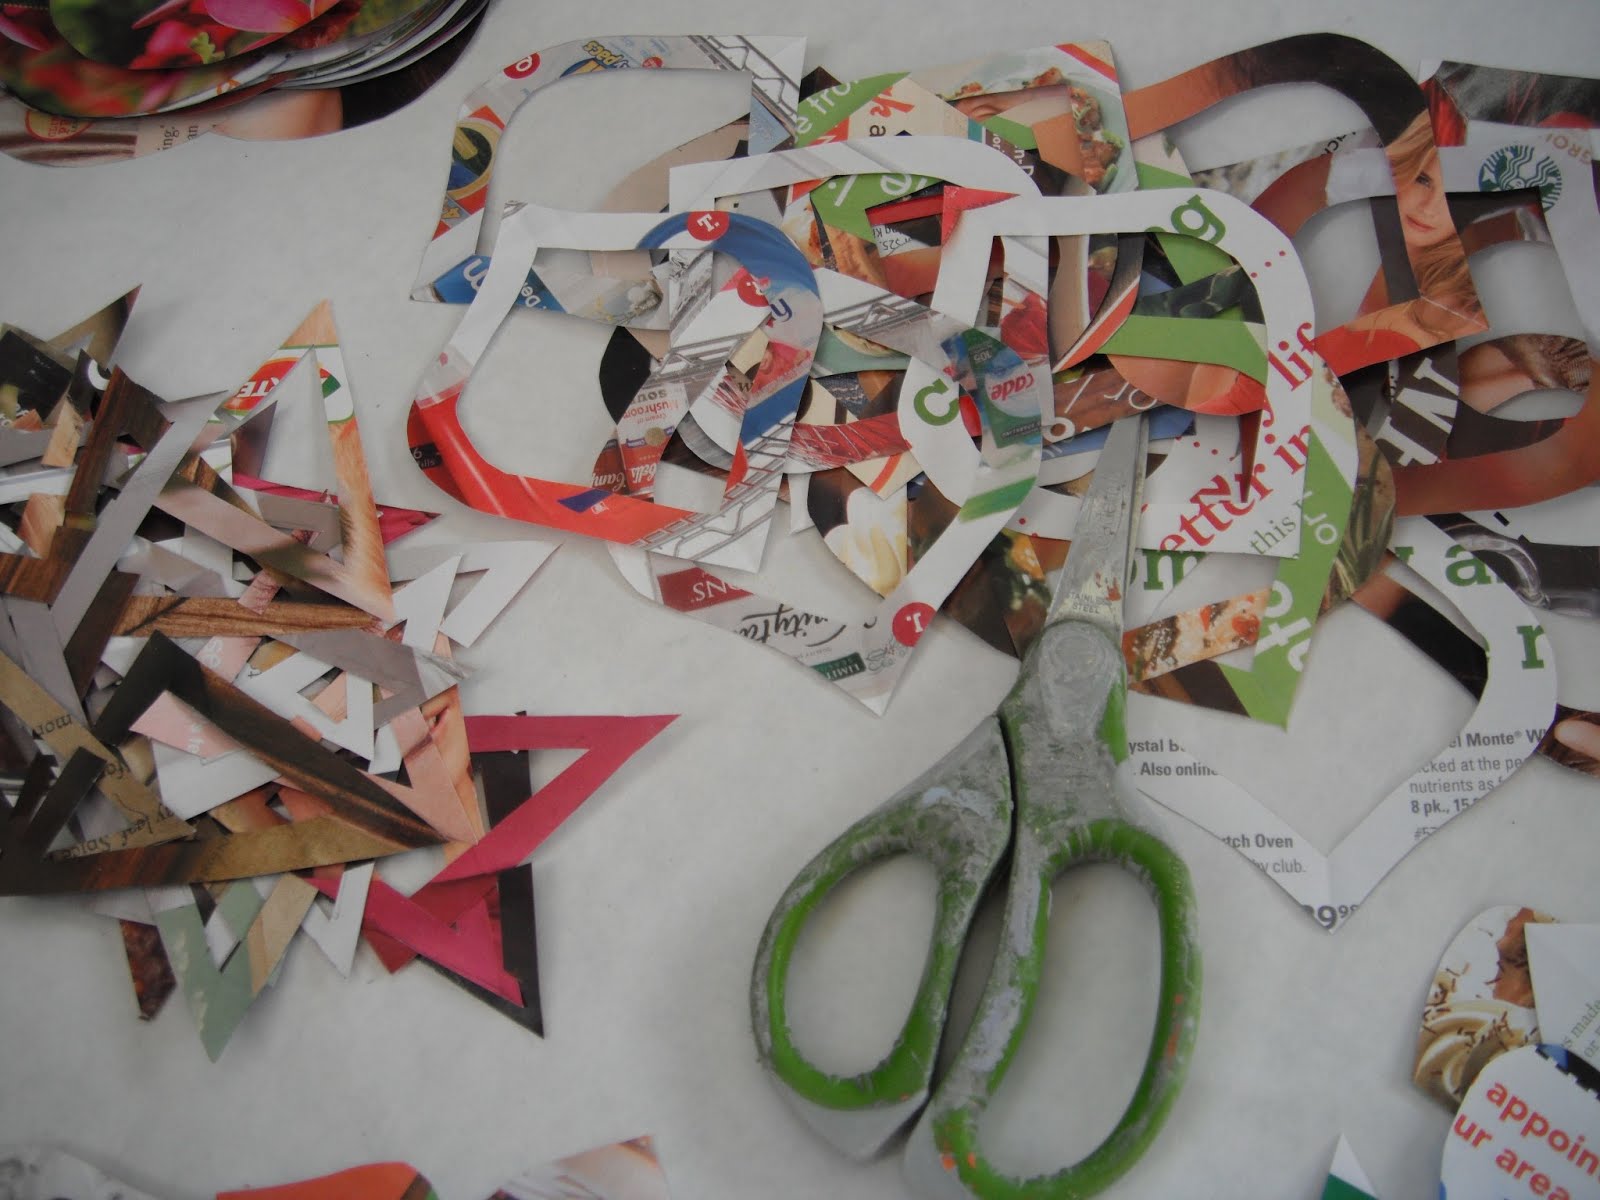
A: What are your essential tools?
S: Scissor, junk mail, catalogues for paper and my kiln.
A: Thanks for sharing! It’s really fascinating to see the works in the unfinished state.
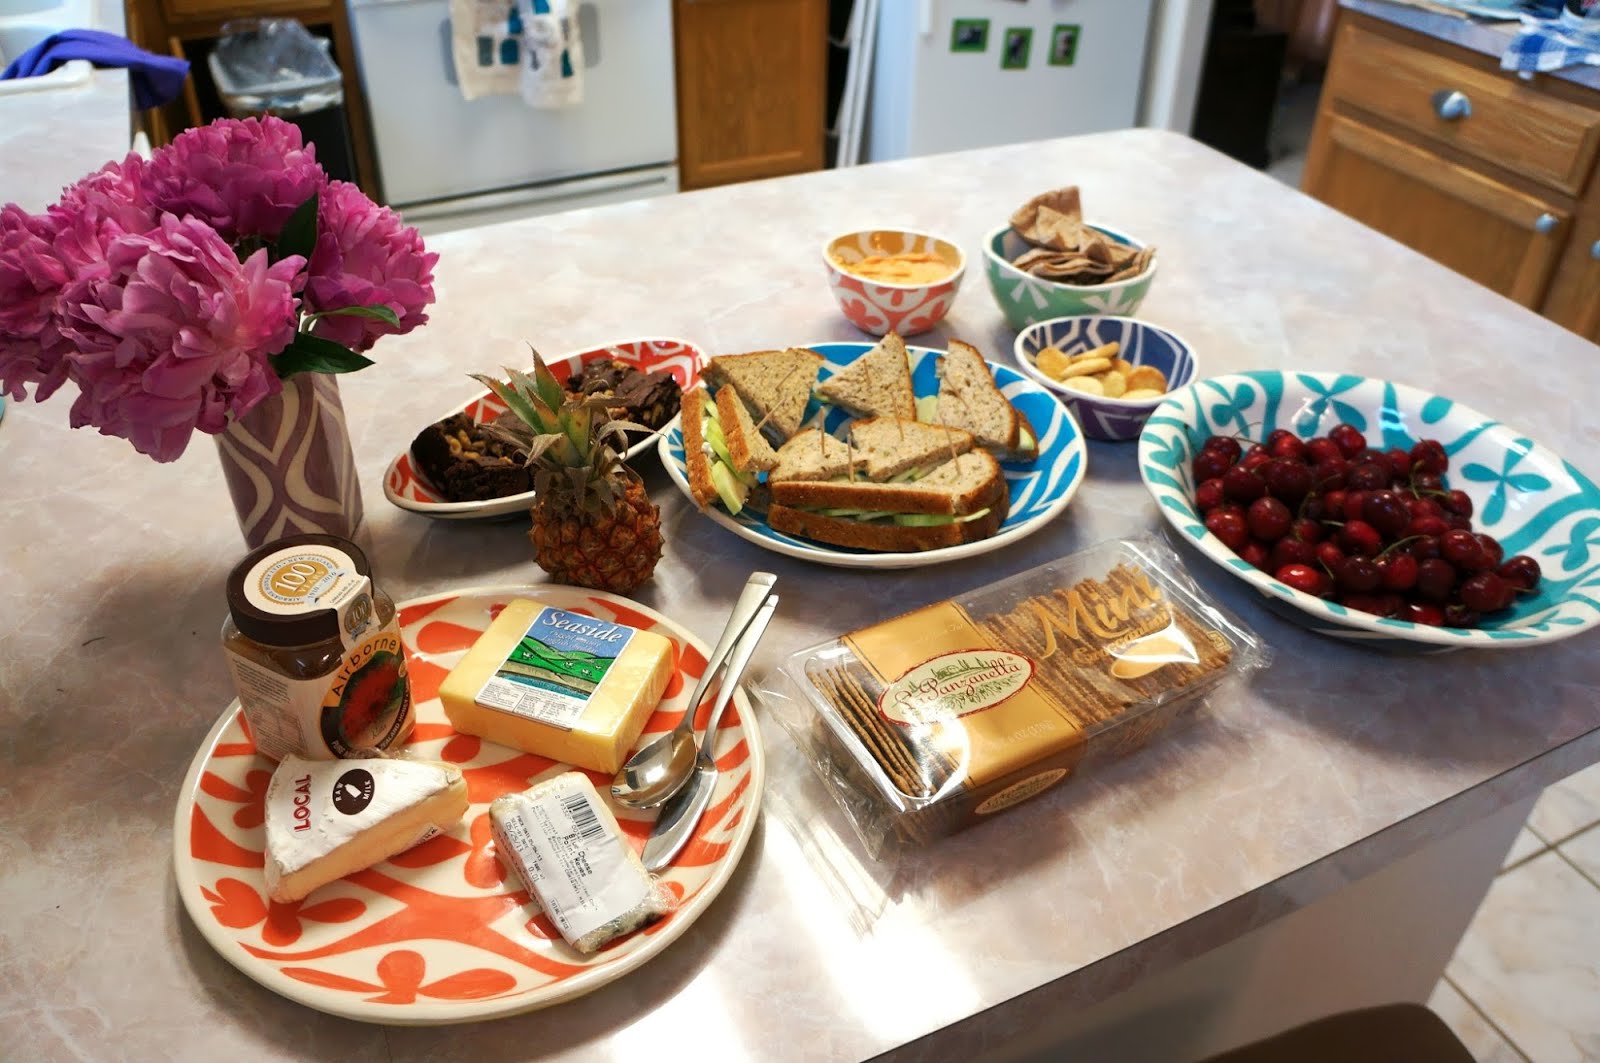
I’ve collected a bit of Susan’s work at various craft fairs, and I love using it for parties. It’s so fun and colorful! Here’s my collection.
Wednesday, July 10, 2013
Pattern things
My 30 day trial of illustrator is nearly up, and I've learned so much in the last month (Yes I will be investing in the newest version, it's pricey but totally worth it). I've been converting a lot of my patterns into vector graphics, which means they won't be all pixelated.
I also found a good site for converting my work into phone covers, laptop skins, etc.: Society6. Because I have to do lots resizing my images to the correct dimensions for each item, I can tell they take image quality seriously, and I wouldn't put my work on anything second-rate. I love caseable, and have two of their cases, but they don't make it so easy to open your own store, at least for small artists.
Patterns are so utilitarian, and I love the idea of making art that people can wear or incorporate into their everyday life.
Here's a link to my new Society6 store
-->
And here's a link to my Spoonflower store. I keep adding new stuff, so check it out :)
I also found a good site for converting my work into phone covers, laptop skins, etc.: Society6. Because I have to do lots resizing my images to the correct dimensions for each item, I can tell they take image quality seriously, and I wouldn't put my work on anything second-rate. I love caseable, and have two of their cases, but they don't make it so easy to open your own store, at least for small artists.
Patterns are so utilitarian, and I love the idea of making art that people can wear or incorporate into their everyday life.
Here's a link to my new Society6 store
And here's a link to my Spoonflower store. I keep adding new stuff, so check it out :)
Tuesday, July 9, 2013
Hex Spiral
Tonight I used Illustrator to make a pattern based on a hexagonal tessellation. This story is best told with pictures:
I'll have to convert it to a square repeat to get it into Spoonflower. I'll have to do some thinking about that tomorrow.
Monday, July 8, 2013
Vectorizing
Live Tracing a jpg to make vectors:
Offsetting the pattern to mend the seams:
Now I have a vectorized repeat tile. I can make it huge!
Sunday, July 7, 2013
Finished Starfish
Today I cast my sea star in Sterling silver. Here is the piece with sprews attached.
Here is the piece after some initial filing and cleanup.
More polishing:
The underside:
I blackened the piece after everything was smooth.
The final step was to buff it with a jewelry cloth.
Saturday, July 6, 2013
Lost Wax Starfish
This weekend I am taking a class on Lost Wax Casting at Creative Side Jewelry Studio in Austin. I decided to base my design of an image from Ernst Hackler's Art Forms in Nature.
The design is an ancient relative of the starfish with a cool flowery pattern all over the body.
I even textured the underside. I love two-sided jewelry.
Here's my piece with a wax channel connecting to the piece ("sprew"). The piece will be put in a tube and filled with a plaster-like substance. Once this is dry, we melt out the wax, leaving behind space which we can fill with metal. Tomorrow's class we'll do the metal casting. Stay tuned for more :)
Friday, July 5, 2013
Dazzle Repeat
I've updated my dazzle camouflage pattern into a vector graphic repeat using Illustrator.
Before:
After:
Before:
After:
Wednesday, July 3, 2013
Mona Bear
Tonight I made a spoonflower print inspired by my cat. I took an old pic of my cat, which I had previously turned into a drawing, and tonight I turned it into an illustrator repeat.
I also uploaded it to Spoonflower. I think it will make a nice giftwrap or bright fabric.
Here's my work making the tile.
Here's the final repeat:
Subscribe to:
Posts (Atom)