How does one create a rectangular image that tiles seamlessly? Let's use math to help figure this out. Don't worry, it's all visual!
We want anything touching the top edge to wrap around to the bottom, and anything touching the right side to wrap around to the left. If you think of the 2D paper as a stretchy surface that we can bend and move, we can transform it into a torus (aka a donut).
Let's break that down. 1. We take our paper rectangle and denote the top and bottom edges as blue and the side edges as orange. 2. We fold the blue edges so they meet. Now we just have a tube. 3. Now we have to use our imaginations and pretend the paper is stretchy. We bring together the orange edges and complete the torus. 4. Now we have an object with no edges. We can draw all we like, and seams are impossible!
Unfortunately we have only made seams impossible in our imaginary math-land. That doesn't really solve my issue of wanting a website background that will tile seamlessly. Let's continue in math-land and find our way back to reality.
Suppose we start with a drawing and make it into a torus. The only part of our image that has misaligned seams are the orange and blue marks. Therefore if we make cuts on other parts of the image, those seams will line up when tiled. 5. We make a cut far away from the orange seam. 6. We unroll the torus into a tube. 7. Now we make a cut far away from the blue seam. 8. Now we have a sheet of paper with the original misaligned orange and blue seams at the center.
Also, notice our paper is rectangular again. We've returned to reality!
So how can I do this without stretchy paper or mathy imagination? 1 .We can cut our image into fours, then 2. rearrange the pieces to match the end result of the torus transformation. 3. Now that we have the misaligned seams at the center of our image, mend the seams.
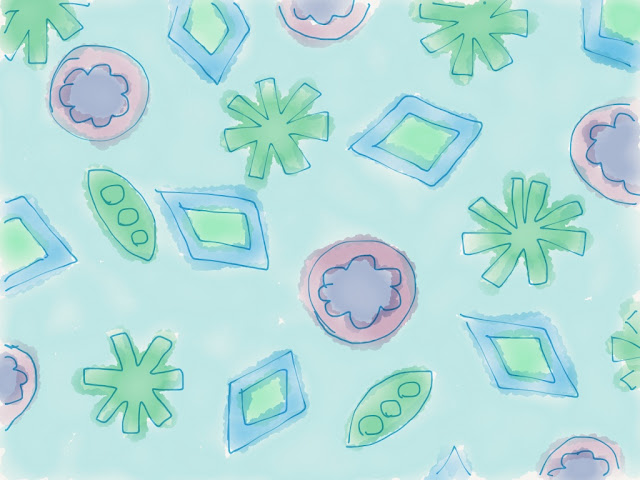
Here's an example of how I did this using the GIMP with the diatoms image. Here is the original image.
I used a feature of the GIMP called offset. Go to Layer > Transform > Offset. Click "Offset by x/2, y/2" and for edge behavior, select "Wrap Around." (See here for more details.)
Now mend those seams!
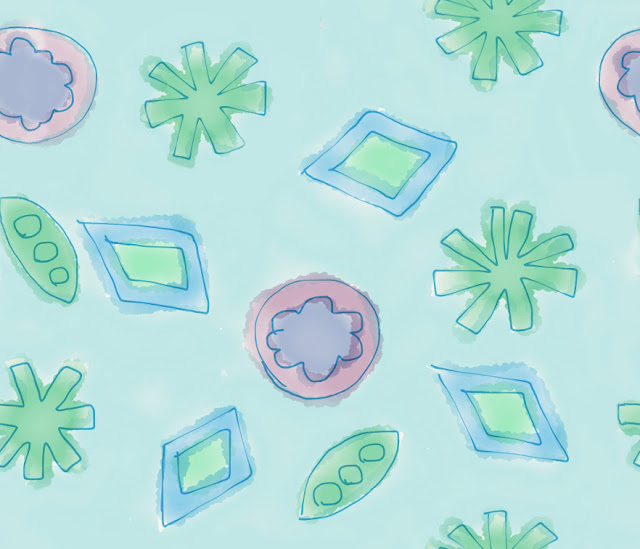
I also moved some of the shapes around for better balance. Now to make sure this will tile correctly, we can redo the offsetting. The result should have no center seams:
Tada! And notice that my blog background has no more seams, either!
References:


No comments:
Post a Comment